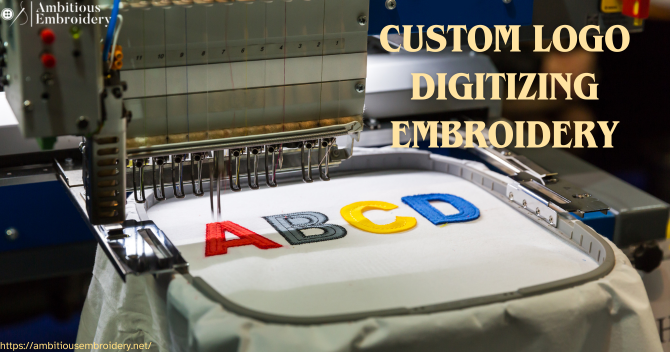
Embroidery digitizing is the process of sewing artwork into an embroidery design file that can be utilized on your embroidery machine. Stitching software is used to do this. The process of digitizing for needlework is different from that of converting one photo file to another.
Join us as we explore the world of custom logo digitizing for embroidery in this blog, covering everything from the basics to sophisticated methods and tried-and-true strategies to keep you competitive in this fast-paced industry. Explore the latest advancements in this art form, ranging from simple logo digitization to more intricate techniques.
Step 1: Start with High-Resolution Artwork
Start with a vector high-resolution logo in EPS or AI format to guarantee scalability and duplication of delicate details. Keep raster picture quality at least 300 DPI. To make the logo as embroidery-friendly as possible, reduce the number of colors and superfluous features. Working together with a skilled digitizer can improve your logo preparation for better results when embroidered.
Step 2: Consider Fabric and Design Size
When choosing the size and positioning of your embroidered logo, take the thickness and texture of the cloth into consideration. Making sure the measurements match your design objectives improves visual impact and balance.
Step 3: Choose the Right Stitch Types
Depending on the complexity of the design, choose different stitch types (such as fill stitches for vast areas, satin stitches for smooth portions, and straight stitches for outlines). The distinct textures and proportions added by each stitch type improve the accuracy and visual appeal of the logo.
Step 4: Specify Stitch Direction
Precisely define stitch direction and pattern for each element of the design. Clear instructions on starting points and sequences ensure a neat and polished appearance, crucial for achieving desired embroidery results.
Step 5: Carefully Select Thread Colors
Match embroidery thread colors meticulously to the original logo tones to maintain brand identity and visual consistency. Thoughtful color selection enhances the logo’s portrayal in embroidery, capturing its essence accurately.
Step 6: Transfer and Setup for Embroidery
Load the finalized embroidery file into your machine and ensure proper alignment and setup. Securely attach the embroidery hoop, thread the machine, and verify fabric positioning for precise execution of the digitized design.
Step 7: Machine Setup and Testing
Thoroughly prepare the embroidery machine by adjusting hoop tension, thread tension, and verifying thread colors. Testing with a sample ensures the machine executes the design accurately before full production.
Step 8: Evaluate and Adjust
Embroider a sample to assess the accuracy and quality of the digitized logo. Make necessary adjustments to thread tension, colors, or design elements to achieve the desired embroidery outcome.
Your brand’s identity will be accurately and clearly reflected in every embroidered piece if you use these creative methods for custom logo digitizing for embroidery. Achieving proficiency in these stages improves the overall caliber and effect of your embroidered products, be they for business wear, marketing materials, or personalized presents.

