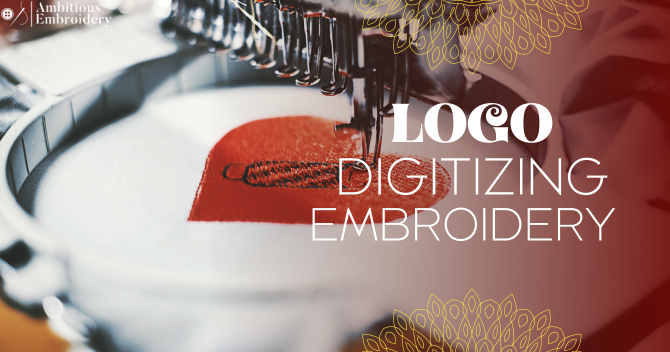
Stitch-ready designs are created by a painstaking process called embroidery digitizing, which involves more than merely uploading an image and clicking a button. With more than 20 years of expertise, Merchology Senior Digitizer Brendon O’Flanagan outlines the crucial processes in logo digitizing for embroidery.
Recognizing the Digitization of Logos
Standard image files, such as JPGs or PNGs, cannot be directly interpreted by embroidery machines. It is need to convert these photos into appropriate embroidery file types, such as.dst for Tajima machines, instead. To guarantee compatibility and accurate stitching, every machine type needs its own format.
Steps in Logo Digitization
- Digitizing Software Setup: Start by importing your logo into specialized digitizing software like Wilcom or Brother Embroidery Design Software. Crop unnecessary space around the logo to focus on the design.
- Setting Design Dimensions: Specify the exact dimensions for your embroidered logo to fit perfectly on your chosen product. This step ensures that the embroidery size matches your requirements.
- Selecting Stitch Types: Choose from stitch types like straight, satin, or fill stitches based on the design requirements. Each stitch type offers distinct textures and finishes suitable for different elements of your logo.
- Establishing Stitch Direction: Define the sequence and direction of stitches to optimize embroidery efficiency and minimize thread usage. This step is crucial for achieving smooth contours and detailed textures.
- Color Selection: Match thread colors precisely to your corporate logo using Pantone references. This ensures that the embroidered logo maintains brand consistency and clarity.
- Transferring to Embroidery Machine: Transfer the finalized embroidery file (e.g., .dst) to your embroidery machine using a USB cable or flash card.
- Machine Setup and Testing: Prepare the embroidery machine by selecting appropriate needles, threads, and settings. Test the digitized logo on a sample fabric to ensure quality before full production.
Types of Commercial Embroidery Techniques
Once digitized, a variety of embroidery techniques can be used to apply logos:
- Custom clothing such as t-shirts, coats, and caps can be made with standard embroidery, which offers a cost-effective and long-lasting finish.
- Adding dimension to logos that stand out on the fabric is possible using 3D Puff Embroidery, which uses foam underlay.
- Large designs with textured appearances are produced by layering fabric in laser applique embroidery.
- Embroidered patches are ideal for personalized beanie and hats, providing a simple and efficient way to apply a symbol.
Gaining proficiency in logo digitizing for embroidery guarantees that every embroidered item perfectly reflects the identity of your company. The foundation for flawless embroidered outcomes is laid by careful digitization, whether for corporate merchandise or personalized gifts.

